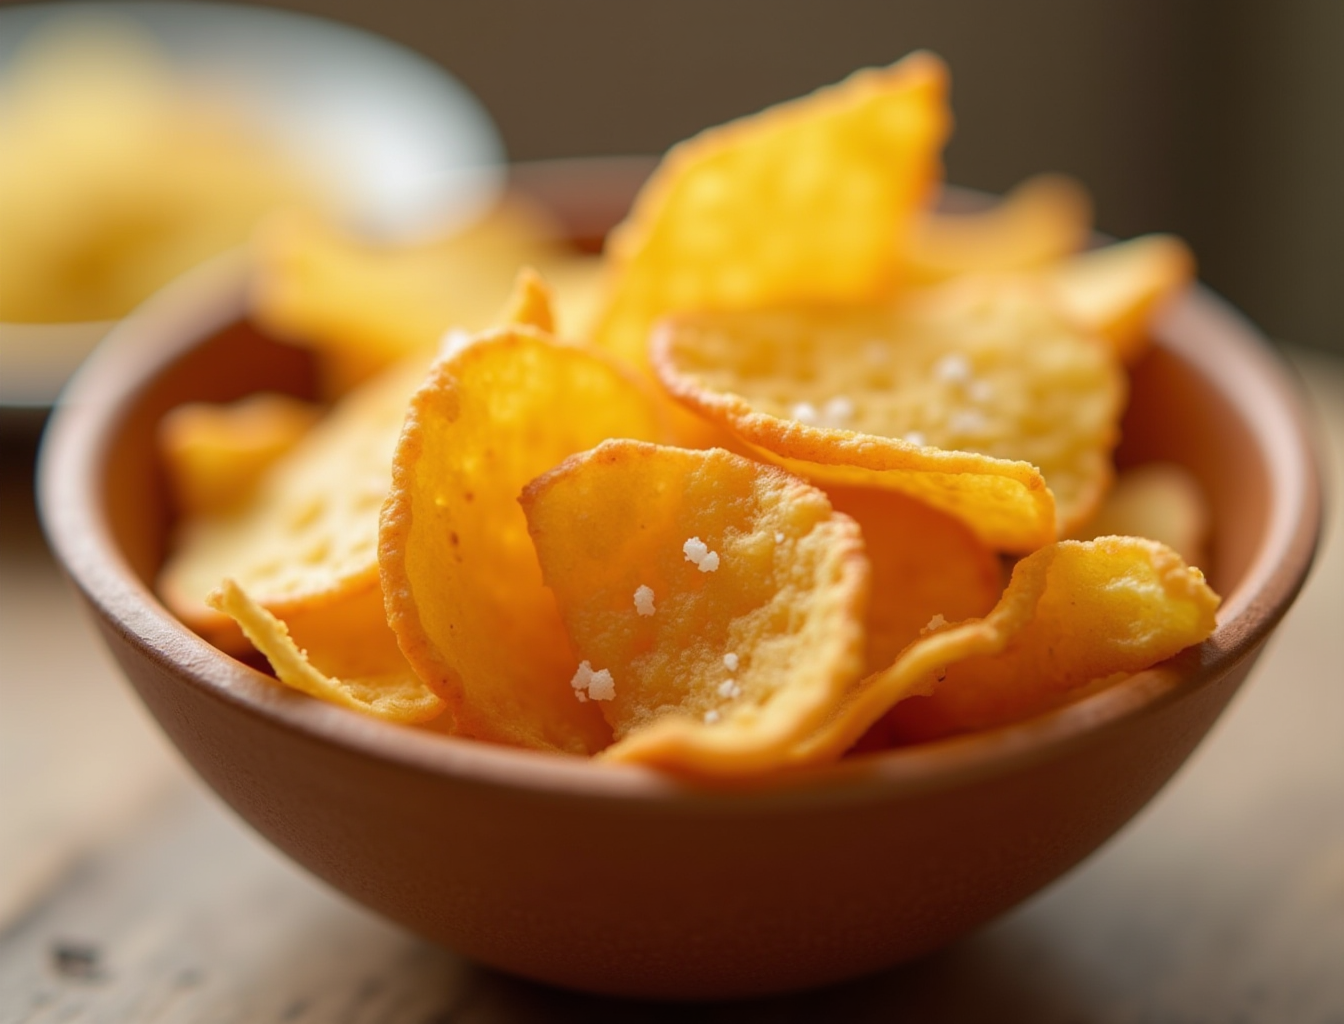
Air Fryer Potato Chips (Homemade, Crispy, and Actually Delicious)
Homemade potato chips sound like a weekend project. In an air fryer, they’re a weeknight snack — ready in under 20 minutes, with a fraction of the oil you’d need for deep frying. But here’s what most recipes won’t tell you: air fryer potato chips are genuinely harder than they look, and there are several specific ways they go wrong.
PrintAir Fryer Potato Chips
Homemade potato chips made in the air fryer with just a touch of oil — crispy, golden, and ready in under 40 minutes. The key is ultra-thin slicing, a starch-removing soak, and thorough drying before cooking.
- Prep Time: 20 minutes
- Cook Time: 17 minutes
- Total Time: 37 minutes
- Yield: 2-3 servings 1x
- Category: Snack
- Method: Air Fryer
Ingredients
- 2 large Russet potatoes (or Yukon Gold for a richer, butterier flavour)
- 1–2 tsp olive oil or avocado oil
- Flaky sea salt
- Optional seasonings: smoked paprika, garlic powder, vinegar powder, onion powder, dried rosemary
Instructions
- Wash the potatoes but do not peel. Using a mandoline set to its thinnest setting (1.5mm or less), slice the entire potato from end to end. Discard the first and last few irregular rounds.
- Place all sliced rounds in a bowl of cold water with a generous pinch of salt. Soak for 15–20 minutes to remove excess surface starch — the water will turn cloudy.
- Drain and dry the potato slices thoroughly. Spread on clean kitchen towels and press down firmly with another towel. Let air-dry on a rack or flat surface for an additional 5 minutes until completely dry.
- Transfer to a bowl and add just enough oil to barely coat each slice. Toss with your hands so every surface has a very light film. Season with salt only at this stage.
- Preheat air fryer to 325°F (165°C). Arrange a single layer of chips with no overlapping — maximum 15–20 chips per batch. Air fry for 12–17 minutes, checking every 3–4 minutes during the final stage.
- Once edges begin to turn deep amber-brown, check every 30 seconds. Remove chips individually with tongs as they reach a golden colour and place on a wire rack. Chips will crisp further as they cool — pull them golden, not deep brown.
Notes
A mandoline slicer is strongly recommended — consistent 1.5mm thickness is nearly impossible by hand and uneven slices lead to mixed results.
Do not skip the soaking step; it removes surface starch that would cause chips to stick together and cook unevenly.
Add spice seasonings after cooking, not before — most seasonings burn at the temperatures needed to crisp the chips.
The window between perfectly golden and burnt is about 60 seconds — stay close during the final minutes and remove chips individually as they finish.
Salt and Vinegar: Soak slices in white vinegar instead of water, then dust with malt vinegar powder and flaky salt while hot.
BBQ Smoky: Toss hot cooked chips in 1 tsp smoked paprika, ½ tsp brown sugar, ¼ tsp garlic powder, ¼ tsp onion powder, and a pinch of cayenne.
Sour Cream and Onion: Dust hot chips with onion powder, garlic powder, dried chives, a touch of citric acid powder, and fine sea salt.
This guide covers the method that actually works: the right slice thickness, the correct temperature (lower than you’d expect), and the exact preparation steps that separate truly crispy chips from sad, chewy rounds. Follow these steps and you’ll have proper homemade chips. Skip any one of them and you’ll understand why people give up on this recipe after the first attempt.
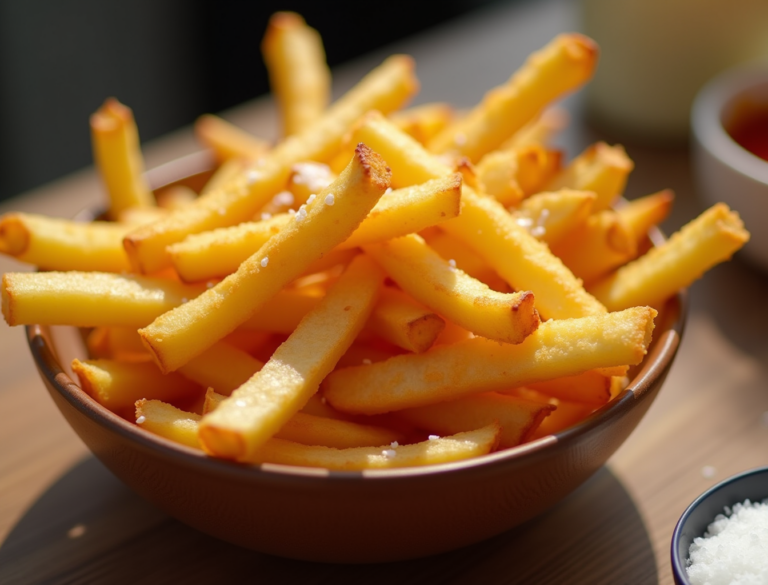
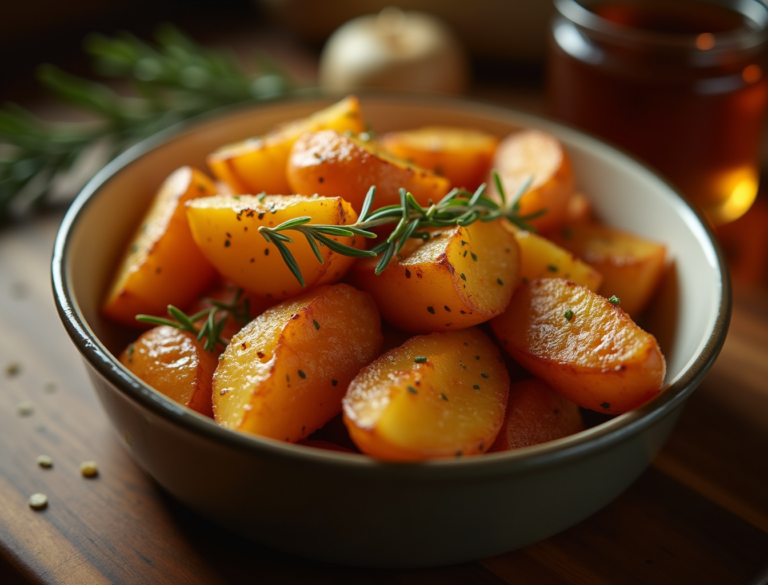
For more homemade snack ideas, see our guides to air fryer french fries and air fryer potato wedges. All cooking times and temperatures can be found in our air fryer cooking times chart.
Can You Really Make Crispy Chips in an Air Fryer?
Yes — but with important caveats. Air fryer potato chips work, and they can be genuinely crispy and delicious. However, they are not identical to commercially manufactured chips or deep-fried chips. They have a slightly different texture: thinner, more delicate, with a tendency to have irregular edges where they’ve dried and curled slightly. That rustic quality is part of their charm.
What the air fryer does better than an oven for chips: the circulating air removes moisture from all surfaces simultaneously, which is essential for dehydrating a paper-thin potato slice into a chip rather than a soft round. An oven can work, but it takes significantly longer and produces less consistent results.
What the air fryer cannot replicate: the instantaneous immersion of deep frying, which seals the surface in milliseconds and produces a different kind of uniform crunch. Air fryer chips have a slightly more artisanal, variable texture — some prefer it, some don’t.
What You Need — Ingredients and Equipment
Ingredients:
- 2 large Russet potatoes (or Yukon Gold for a richer, butterier flavour)
- 1–2 tsp olive oil or avocado oil (less is more — see Pro Tips)
- Flaky sea salt
- Optional seasonings: smoked paprika, garlic powder, vinegar powder, onion powder, dried rosemary
Equipment:
- Mandoline slicer (strongly recommended — see below)
- Large bowl for soaking
- Clean kitchen towels or paper towels
- Wire cooling rack (optional but helpful)
The Mandoline: Is It Required?
A mandoline is not strictly required, but it is the difference between reliable results and inconsistent ones. Here’s why:
Chips need to be 1/16 inch (1.5mm) or thinner for consistent crisping. A sharp knife can produce thin slices, but maintaining that precise, uniform thickness across an entire potato is nearly impossible by hand. Even small variations — one slice at 1.5mm, the next at 2.5mm — mean some chips are done while others are still soft, leading to a basket of mixed results where you’re constantly removing individual chips as they crisp.
A basic mandoline set to its thinnest setting costs $15–25 and is one of the most versatile tools in a kitchen. If you make chips more than once, it pays for itself immediately in both time and frustration saved.
If using a knife: work slowly, use the flattest potato you can find, and accept that some chips will be uneven. Remove chips individually as they brown rather than all at once.
How to Make Air Fryer Potato Chips
Prep time: 20 minutes (includes soak) | Cook time: 13–17 minutes per batch | Serves: 2–3
Slice the Potatoes — Thickness Is Everything
Wash the potatoes. Do not peel — the skin adds flavour and helps the chip hold together at the edges. Set the mandoline to its thinnest setting (1.5mm or less). Slice the entire potato from end to end, keeping consistent pressure.
As you slice, discard the first and last few pieces — the very end rounds are often irregular. All the rounds in the middle should be identical.
Soak in Cold Water
Place all sliced rounds into a bowl of cold water. Add a generous pinch of salt. Leave to soak for 15–20 minutes. This step removes excess surface starch, which would otherwise cause the chips to stick together and cook unevenly. The water will turn slightly cloudy — that’s the starch.
Some recipes call for an ice bath. Cold water works just as well for this purpose. Ice is useful if you’re working in a warm kitchen and don’t want the potatoes to start softening before you cook them.
Season and Cook in Batches
Drain and dry the potato slices thoroughly. Spread them on clean kitchen towels and press down firmly with another towel. Then lay them out on a rack or flat surface and let them air-dry for an additional 5 minutes. The goal is completely dry surfaces — any remaining moisture on the surface will turn to steam in the air fryer and make chips chewy.
Transfer to a bowl and add the oil. Use just enough to barely coat each slice — toss with your hands so every surface has a very light film. Season with salt only at this stage (other seasonings burn more easily; add them after cooking).
Preheat air fryer to 325°F (165°C). Add a single layer of chips with no overlapping — maximum 15–20 chips per batch. Air fry for 12–16 minutes, checking every 3–4 minutes in the final stage.
Watch Carefully — They Go From Perfect to Burnt Fast
This is the defining challenge of air fryer potato chips: the window between perfectly golden and burnt is approximately 60 seconds. Once you see the edges beginning to turn a deep amber-brown, check every 30 seconds.
As chips reach the right colour, remove them individually with tongs and place on a wire rack or plate. Do not wait until all chips look the same — they will not all be done at the same time, and the ones that reached colour first will burn if you leave them in.
Chips will harden and crisp further as they cool. Pull them when they are golden, not deep brown — within 2 minutes of cooling they will be fully crisp.
Seasoning Variations
Salt and Vinegar Chips
Instead of soaking in plain water, soak the slices in white vinegar for 15–20 minutes. Dry thoroughly, coat lightly in oil, and cook as normal. While hot, dust with malt vinegar powder and flaky salt. The vinegar soak penetrates the potato and creates an authentic, sharp tangy flavour that you cannot replicate by just adding vinegar powder alone.
BBQ Smoky Chips
Cook chips plain with just oil and salt. While hot, toss in a seasoning blend: 1 tsp smoked paprika, ½ tsp brown sugar, ¼ tsp garlic powder, ¼ tsp onion powder, pinch of cayenne. The heat of the freshly cooked chips blooms the spices and the brown sugar caramelises very slightly. Excellent with cold drinks.
Sour Cream and Onion Chips
After cooking, dust hot chips with a blend of onion powder, garlic powder, dried chives, and a very light touch of citric acid powder (sold in the baking aisle). The citric acid provides the tangy note of the sour cream flavour without adding moisture. Finish with fine sea salt.
Rosemary and Sea Salt
Add 1 tsp finely chopped fresh rosemary to the oil before tossing — the rosemary coats the chips and infuses flavour during cooking. Finish with coarse flaky sea salt. A more refined, adult chip variation; excellent with cheese plates.
Everything Bagel Chips
After cooking, toss hot chips with everything bagel seasoning (sesame seeds, poppy seeds, dried garlic, dried onion, flaky salt). The slight oiliness of the just-cooked chip helps the seasoning adhere.
Pro Tips for Actually Crispy Air Fryer Chips
- Uniform thickness is the single biggest variable. Uneven slices mean some chips burn while others stay soft. A mandoline set to 1.5mm is the only reliable way to get consistent results — a knife creates too much variation.
- Low and slow beats high heat for chips. Unlike most air fryer recipes, chips need 325°F (165°C), not 400°F. High heat browns the edges before the center dehydrates. Lower temperature allows the slice to slowly lose moisture and crisp evenly throughout.
- Dry the potatoes obsessively. After the soak, use paper towels, then let rest on a rack for 5 minutes. Any surface moisture turns to steam in the air fryer and produces chewy chips. This step deserves more attention than most recipes give it.
- Cook in small batches. 15–20 chips per batch maximum. Overlapping chips steam rather than crisp — the ones underneath never see direct hot air.
- They crisp as they cool. Remove chips when they are golden, not dark brown. They will harden and crisp significantly within 2 minutes of leaving the air fryer. Chips left in until fully crisp-looking in the basket will be overdone by the time they cool.
Why Your Chips Might Not Be Crispy — Troubleshooting
| Problem | Likely Cause | Fix |
|---|---|---|
| Chips are chewy, not crispy | Too much moisture; not dried enough after soaking | Extend dry time; use a firm towel press; air-dry on rack 5 min before cooking |
| Edges burn while centre stays soft | Slices too thick, or heat too high | Slice thinner; reduce temperature to 325°F |
| Chips stick together and steam | Overlapping in basket | Cook in smaller batches with no overlap |
| Inconsistent crispiness across batch | Uneven slice thickness | Use a mandoline; remove chips individually as they are done |
| Chips taste oily | Too much oil applied | Use a misting spray bottle or toss with just a few drops — barely a coating |
| Chips curl excessively and break | Temperature too high, or slices too thin | Reduce to 325°F; slice at 1.5–2mm rather than paper-thin |
Storing Homemade Air Fryer Chips
Storage: Cool completely on a wire rack before storing — heat in an airtight container creates condensation that softens chips immediately. Store in a paper bag or loosely covered bowl at room temperature for up to 2 days. Airtight containers trap moisture and soften chips within hours.
Reheating: Homemade chips do not reheat well. The fragile structure absorbs moisture during storage and microwaving or re-air-frying generally produces a stale or tough result rather than refreshing the crunch. Make only what you plan to eat — the preparation can be done ahead (sliced, soaked, dried), and the cooking takes only 15 minutes.
Meal prep tip: Potato slices can be prepped up to 24 hours ahead — soak, dry, and store in a single layer between paper towels in the fridge. Cook just before serving.
Frequently Asked Questions
Why aren’t my air fryer potato chips crispy?
The most common causes: slices are too thick (need to be 1.5mm or less), potatoes were not dried thoroughly enough after soaking, too much oil was used, or chips were overcrowded in the basket. All four issues prevent moisture from escaping properly, which makes chips chewy instead of crispy. The fix for each is in the troubleshooting table above.
What temperature do you cook potato chips in an air fryer?
Cook at 325°F (165°C) — lower than most air fryer recipes. At 400°F, chip edges burn before the centre dehydrates. Lower temperature allows the slice to slowly lose moisture and crisp evenly from edge to edge. Expect 12–16 minutes per batch at 325°F, with close monitoring in the final 3–4 minutes.
Do you need a mandoline to make air fryer potato chips?
A mandoline is strongly recommended. Knife-cut chips vary too much in thickness, meaning some slices crisp perfectly while others burn or stay soft. A mandoline set to 1.5mm creates the uniform, paper-thin slices that cook evenly. An entry-level mandoline ($15–25) is a worthwhile investment if you plan to make chips more than once.
Do you need oil to make air fryer potato chips?
A very small amount of oil improves flavour and helps achieve even browning, but you can make acceptable chips with no oil at all — just extend the cook time by 2–3 minutes and accept a slightly drier, less golden result. If going oil-free, soaking and drying thoroughly becomes even more critical.
How long do homemade air fryer chips last?
Homemade chips last 1–2 days stored in a paper bag or loosely covered container at room temperature. They begin to soften within hours of cooking, especially in humid environments. Airtight containers accelerate softening by trapping any residual moisture. Make only what you’ll eat for best results.
Temperature and time guidance verified against multiple tested sources including Well Plated and Preppy Kitchen. Troubleshooting methodology informed by testing notes at In the Kitchen with Matt.