How to Use an Air Fryer: The Complete Beginner’s Guide
How Does an Air Fryer Actually Work?
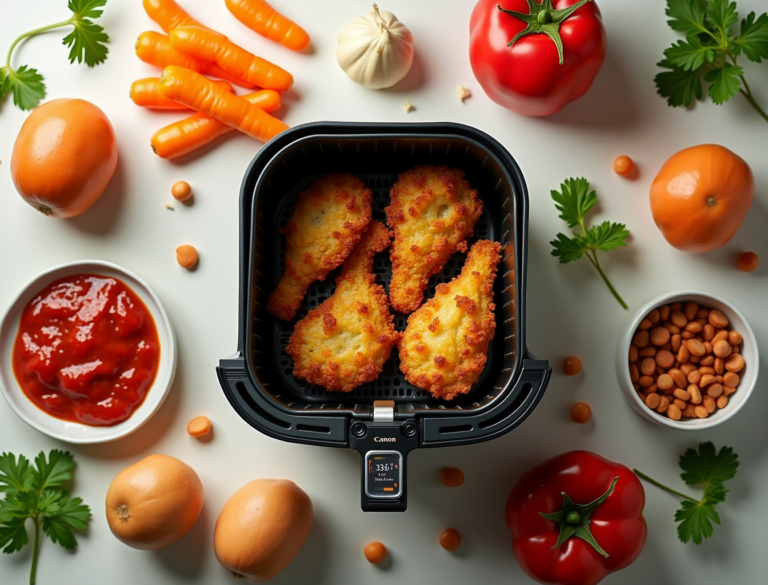
An air fryer is essentially a compact, high-powered convection oven. A heating element and a powerful fan work together to circulate very hot air around food at high speed. This rapid air movement creates the Maillard reaction on the food’s surface — the chemical process that browns proteins and starches to produce a crispy, golden exterior. The result looks and tastes similar to deep-frying, but uses little to no oil.
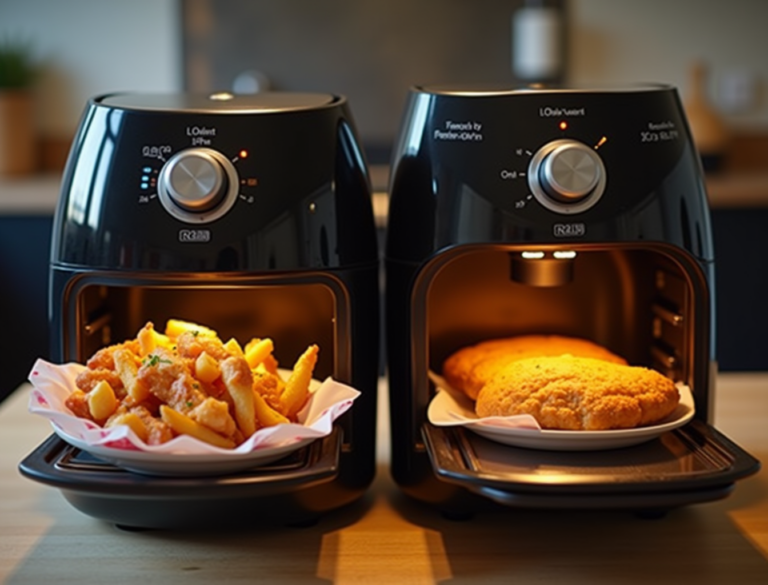
The key difference from a conventional oven is proximity and airspeed. In a standard oven, the heating element is far from the food and the air circulates slowly. In an air fryer, the element is close and the fan is aggressive — so cooking happens faster and the exterior crisps more efficiently.
Air Fryer vs. Oven vs. Deep Fryer vs. Microwave
| Feature | Air Fryer | Conventional Oven | Deep Fryer | Microwave |
|---|---|---|---|---|
| Preheat time | 3–5 min | 10–15 min | 5–8 min | None |
| Crispiness | High | Medium | Highest | None |
| Oil required | Very little (1 tsp) | Moderate | A lot (cups) | None |
| Speed | Fast | Slow | Medium | Fastest |
| Cleanup | Easy | Medium | Hard | Easy |
| Best for | Proteins, fries, reheating | Baking, large meals | Deep-fried foods | Defrost, simple reheat |
How Do You Set Up Your Air Fryer for the First Time?
Getting your first use right matters. A few setup steps make a measurable difference in both safety and results.
Unboxing Checklist
Before anything else, remove all packaging materials from inside and outside the appliance. Pull out the basket or tray and check the inside of the cooking chamber — cardboard inserts and foam packing are occasionally left inside. Check for any plastic wrap on the basket, tray, or accessories. Remove all stickers except any that explicitly say they’re permanent (like certification labels on the bottom).
Washing Before First Use
Wash all removable parts — basket, tray, rack, and any included accessories — in hot soapy water before the first cook. These components come from the factory with manufacturing residue, oils, and coatings that you don’t want in your food. Dry everything thoroughly. The main unit (the body containing the heating element) should only be wiped with a damp cloth — never submerged.
The Burn-In Run (Seasoning a New Air Fryer)
This step is skipped by almost every new owner, but it matters. Before cooking your first meal, run the empty air fryer at 400°F for 10–15 minutes with the kitchen window open or the vent fan on. This burns off any manufacturing residue, protective coatings, and packaging chemicals that cling to the interior surfaces. You may notice a plastic-ish smell — this is normal and expected. After the burn-in run, that smell will be gone. Skipping this step means that residue ends up in your first few meals.
Placement and Clearance
Air fryers need space. Place yours on a heat-resistant surface with at least 5 inches of clearance on all sides — particularly behind, where the exhaust vent releases hot steam. Do not place it under cabinets without clearance, against walls, or on surfaces that can warp under heat (like thin plastic cutting boards). The exhaust steam is hot enough to damage wood finishes and peel paint.
What Do the Air Fryer Controls Mean?
Temperature Settings Explained
Most air fryers operate between 175°F and 400°F. Here’s how to think about temperature ranges:
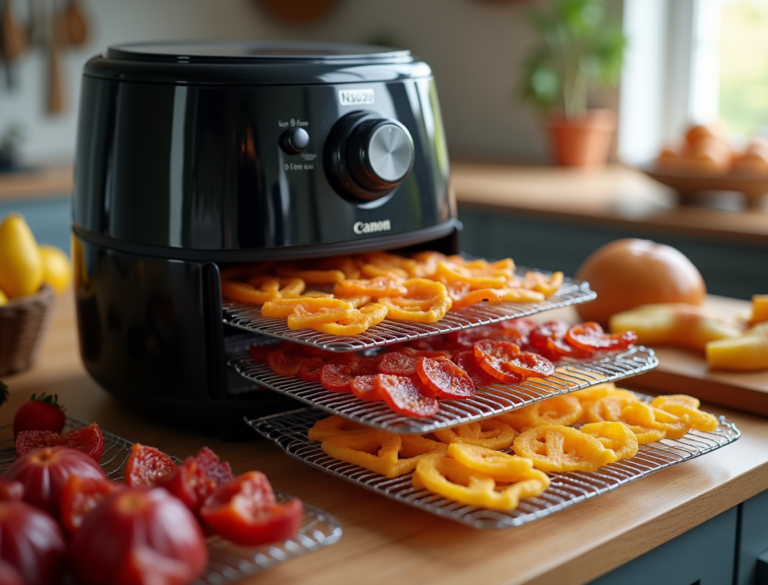
- 175–250°F: Gentle cooking, warming, some models have dehydrate modes here
- 300–350°F: Eggs, bacon, delicate fish, reheating
- 360–380°F: Chicken breasts, pork chops, vegetables, frozen fries
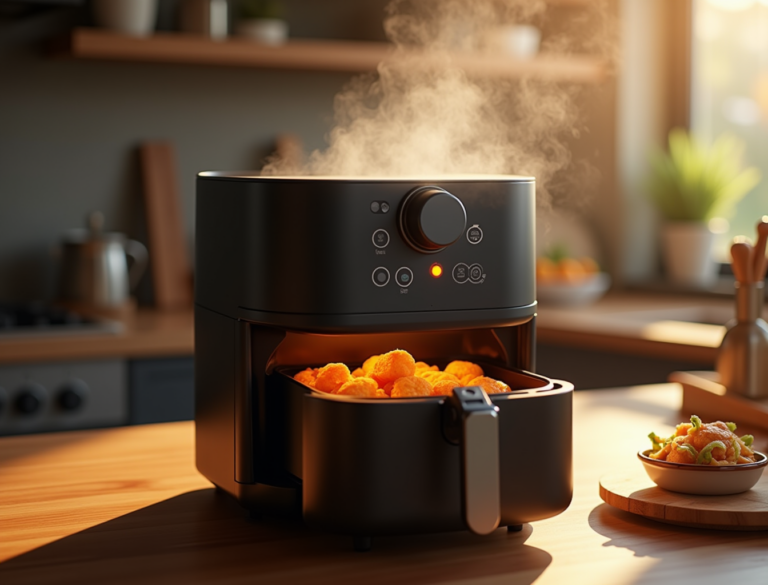
- 390–400°F: Chicken wings, steak searing, frozen nuggets, fries you want extra crispy
What the Preheat Button Actually Does
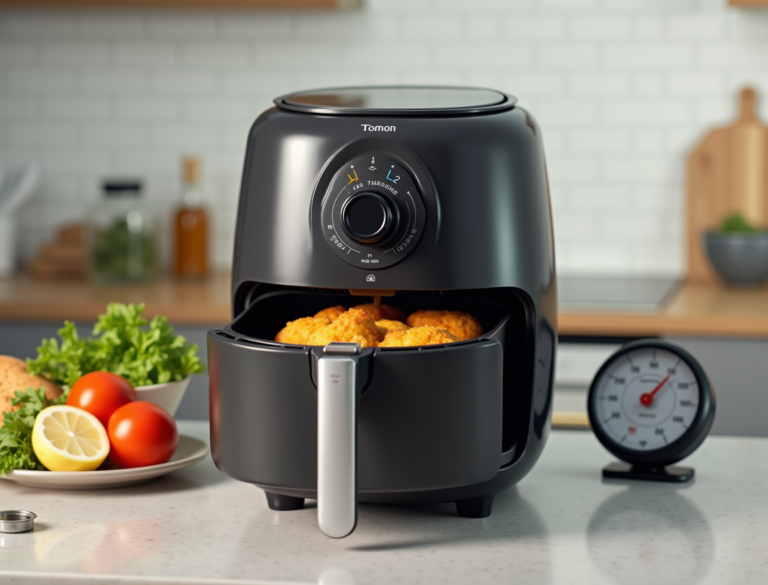
The preheat function runs the air fryer empty at your set temperature for 3–5 minutes to bring the cooking chamber and basket up to temperature before you add food. This matters because food added to a cold basket starts cooking slowly, producing less crust and requiring longer cook times. A preheated basket gives food an immediate sear on contact — that’s where crispiness comes from. If your model doesn’t have a preheat button, simply run it empty at your target temperature for 3 minutes before loading food.
Digital vs. Analog Controls
Digital controls offer precise temperature in 5°F or 10°F increments and often include presets for common foods. Analog dials are less precise but more intuitive — if yours has a dial, use medium-high for most cooking (equivalent to roughly 375°F) and the highest setting for crispier results. The temperature accuracy difference between digital and dial models is rarely as significant as proper technique (single layer, shake, preheat).
How Do You Cook in an Air Fryer Step by Step?
Step 1: Preheat (Yes, Every Time)
Preheat your air fryer at your target temperature for 3–5 minutes before adding food. The exception: very thin, delicate foods like thin fish fillets that can overcook quickly — skip preheat for those only.
Step 2: Prepare Your Food
Cut size matters more than any other prep variable. Pieces that are the same size cook evenly; mismatched sizes mean some pieces are done long before others. A general rule: cut proteins to about 1-inch thickness for even cooking at standard temperatures. For vegetables, uniform bite-size pieces work best. Pat proteins dry with paper towels before seasoning — surface moisture steams instead of crisping.
Step 3: Use Oil the Right Way
Air frying requires very little oil — typically 1 teaspoon to 1 tablespoon depending on the food. Apply oil directly to the food, not the basket. A spray bottle of neutral oil (avocado or light olive oil) is the most practical method. For vegetables, a toss in a light coating works well. For proteins, a brush or spray on the surface is enough. Over-oiling causes smoke and makes food greasy rather than crispy.
Step 4: Don’t Overcrowd the Basket
This is the most important rule in air frying. When the basket is overcrowded, hot air can’t circulate freely — food steams instead of crisps. Each piece needs space around it. For chicken wings, this means a single layer with visible gaps between pieces. For fries, they can overlap slightly but shouldn’t form a deep pile. If you have more food than fits, cook in two batches. The second batch will be ready almost as fast since the air fryer is already hot.
Step 5: Shake or Flip During Cooking
Shake the basket (or flip larger items) halfway through the cook time. For small items like fries, nuggets, and vegetables, a shake redistributes everything so all surfaces get exposure to the circulating hot air. For larger items like chicken breasts, steaks, and fish, flip with tongs at the midpoint. Skipping this step results in one-sided browning — the bottom gets crispy, the top stays pale.
Step 6: Check Doneness and Rest
Check food at the earliest estimate in the time range and use a meat thermometer for proteins. Safe internal temperatures: chicken 165°F, pork 145°F, beef (medium) 135°F, fish 145°F. After removing, let proteins rest 3–5 minutes — internal temperature rises another 5°F from carryover cooking, and juices redistribute. Cutting into chicken immediately after removing it from the air fryer releases juices you’d prefer to keep.
What Does an Air Fryer Temperature Guide for Beginners Look Like?
| Food | Temp | Time | Shake/Flip? |
|---|---|---|---|
| Frozen french fries | 400°F | 15–18 min | Shake halfway |
| Chicken wings | 400°F | 22–25 min | Flip halfway |
| Chicken breast | 375°F | 18–22 min | Flip at 12 min |
| Salmon fillet | 400°F | 8–12 min | No flip needed |
| Vegetables (broccoli, etc.) | 375°F | 10–15 min | Shake halfway |
| Frozen chicken nuggets | 400°F | 10–12 min | Shake halfway |
| Steak (1 inch) | 400°F | 10–14 min | Flip halfway |
| Bacon | 350°F | 8–10 min | No flip needed |
| Reheating pizza | 375°F | 4–6 min | No flip needed |
| Pork chops (boneless) | 380°F | 15–18 min | Flip halfway |
For a comprehensive chart covering 100+ foods, see the Air Fryer Cooking Times Chart. For converting your existing oven recipes, see the Air Fryer Conversion Chart.
What Should You Cook First in Your Air Fryer?
Start simple. Here’s a practical progression for your first week:
Frozen Foods — Start Here
Frozen fries, nuggets, and tater tots are the perfect first-use foods. They’re forgiving, cook quickly (10–18 minutes), and the results are dramatically better than the oven — significantly crispier and more evenly cooked. For an easy, healthy start, try the air fryer eggs recipe next — it’s simple and delicious.
Chicken Thighs — The Perfect Beginner Protein
Chicken thighs are harder to overcook than breasts and produce excellent results in the air fryer. Bone-in, skin-on thighs at 375°F for 25–28 minutes, flipped at 15 minutes, produce crispy skin and juicy meat every time. If you’re nervous about food safety, a $10 instant-read thermometer confirms 165°F internal temperature with certainty.
Reheating Leftovers — The Game-Changer Use Case
Reheating is where the air fryer beats every other appliance. Pizza at 375°F for 4–5 minutes restores the crust crispness completely. Fried chicken at 375°F for 6–8 minutes brings back the coating crunch. Fries at 400°F for 3–5 minutes taste fresh-made again. The microwave reheats but steams — the air fryer restores the original texture. This alone justifies the counter space for most people.
What Can (and Can’t) You Put in an Air Fryer?
Foods That Shine in an Air Fryer
- Chicken wings, thighs, drumsticks, and breasts
- Salmon, tilapia, and most fish fillets
- Frozen foods (fries, nuggets, fish sticks, pizza rolls)
- Pork chops and tenderloin
- Bacon and sausage
- Roasted vegetables (broccoli, asparagus, Brussels sprouts)
- Steak (impressive results for a quick weeknight cook)
- Reheating (pizza, fried chicken, fries, leftovers)
Foods to Avoid in an Air Fryer
- Wet batters (beer batter, tempura): Drip before setting — use in a contained dish or with breadcrumbs instead
- Large leafy greens in quantity: Can fly into the heating element
- Loose cheese without coating: Melts through the basket
- Popcorn: Air fryers don’t reach the temperature needed reliably
- Soups, stews, or liquid-heavy dishes: Need a sealed vessel
- Very large roasts (over 5 lbs): Cook unevenly due to basket size
Can You Put Foil, Parchment, and Oven-Safe Dishes in an Air Fryer?
Aluminum foil: Yes, in the basket with food on top to weigh it down. Never loose foil — it can be sucked into the heating element. Never foil in the base of the drawer, which blocks airflow.
Parchment paper: Yes, perforated parchment is actually ideal — allows airflow while catching drips. Never load parchment empty without food on top — it will fly up and touch the element.
Oven-safe dishes (ramekins, small pans, silicone molds): Yes, as long as they fit with space around the sides for air circulation.
How Do You Clean an Air Fryer?
After Every Use (5-Minute Routine)
Let the basket cool for 10 minutes, then wipe the interior of the drawer and basket with a damp cloth or paper towel. For any stuck bits, fill the basket with warm soapy water and let it soak for 5 minutes before wiping. This prevents grease buildup from becoming baked-on residue. Most baskets are dishwasher safe — check your manual. The main unit: wipe down only with a damp cloth. Never submerge.
Deep Clean (Weekly or As Needed)
Remove the basket and tray and wash them with a non-abrasive sponge and dish soap. For the inside of the cooking chamber, use a soft damp cloth — check the heating element for any food residue and wipe gently with a soft brush or damp cloth when cool. Baking soda paste works well on stubborn grease: apply, let sit 15 minutes, then wipe clean.
What Not to Use When Cleaning
Avoid metal scrubbers, steel wool, abrasive cleaning pads, and harsh chemical cleaners. All of these damage the non-stick coating on the basket, which shortens its life and causes food to stick in future cooks. Soft sponges, silicone brushes, and dish soap are all you need.
What Are the Most Common Air Fryer Mistakes?
Mistake 1: Overcrowding the Basket
The single most common reason air fryer food isn’t crispy. When the basket is full, hot air can’t circulate — food steams and stays soft. Cook in batches if needed. A second batch takes only a fraction of the time since the fryer is already up to temperature.
Mistake 2: Not Preheating
A cold basket means food starts cooking gradually rather than getting an immediate sear. Preheat for 3–5 minutes before adding food for noticeably better results — especially for proteins and anything you want a crispy crust on.
Mistake 3: Using Too Much Oil
More oil doesn’t mean more crispy — it means more smoke and greasy results. Stick to a light spray or 1–2 teaspoons for most foods. For frozen foods with existing coatings, no added oil is often necessary.
Mistake 4: Skipping the Shake or Flip
Air fryers have hotter zones near the element. Without a midpoint shake or flip, you get uneven browning — one side golden, the other side pale. One shake or flip at the halfway point solves this entirely.
Mistake 5: Cooking Wet-Battered Foods Directly in the Basket
Wet batters (beer batter, tempura) drip through the basket before they set, creating a mess and burning on the element. Use breadcrumbs or panko for a coating that crisps instead of dripping, or use a small oven-safe dish inside the basket.
Mistake 6: Ignoring Carryover Cooking
Food continues cooking after you pull it from the air fryer — internal temperature rises another 3–5°F from residual heat. For proteins, this means pulling at 160°F for chicken and it hits 165°F while resting. Don’t wait until the thermometer reads the exact target temperature before removing — pull 5°F early and rest for 3–5 minutes.
What Air Fryer Accessories Are Worth Getting?
Parchment Liners (Perforated)
Pre-cut perforated parchment liners are the most useful air fryer accessory. They prevent sticking on delicate foods (fish, eggs, salmon), make cleanup instant, and don’t block airflow. A pack of 100 liners costs a few dollars and saves significant scrubbing time. Get the size that matches your basket diameter.
Meat Thermometer (Instant-Read)
A $10–15 instant-read thermometer removes all guesswork from protein cooking. Chicken, pork, fish — knowing the exact internal temperature eliminates both undercooking and overcooking. This is the highest-impact accessory for new air fryer users.
Silicone Molds and Small Ramekins
Silicone molds let you make muffins, egg cups, and individual desserts directly in the basket. Small oven-safe ramekins let you cook soups, dips, and wet-batter items that wouldn’t work in the basket alone. Make sure they fit with space around the sides.
Grill Rack or Multi-Layer Rack
A small grill rack doubles your cooking surface by letting you cook on two levels simultaneously. Useful for cooking a protein on one level and vegetables on another in the same session. Rotating the levels at midpoint ensures even results.
Frequently Asked Questions About Using an Air Fryer
Q: Do I need to preheat my air fryer every time?
Yes, for most foods. Preheating for 3–5 minutes produces noticeably crispier results because food begins cooking immediately on contact with the hot basket surface. The only exception is very delicate thin items like thin fish fillets or items that cook in under 8 minutes — for those, skipping preheat is fine.
Q: How much oil do you use in an air fryer?
Very little — typically 1 teaspoon to 1 tablespoon depending on the food and batch size. A light spray of cooking oil directly on the food’s surface is usually enough. For frozen foods with existing coatings, no added oil is often needed. Over-oiling causes smoke and makes food greasy rather than crispy.
Q: Why is my air fryer food not crispy?
The most common causes: (1) overcrowded basket — food steams instead of crisps; (2) skipping the preheat — cold basket = slower browning; (3) too much surface moisture — pat proteins dry before cooking; (4) not enough oil on lean foods. Cook in batches, preheat, and pat dry for the biggest improvement.
Q: Can you open the air fryer while it’s cooking?
Yes. Pulling out the basket to check food or shake it mid-cook is not only fine, it’s recommended. Most models pause automatically when the basket is removed and resume when you reinsert it. Be careful of the steam that releases when you pull the basket — it’s hot.
Q: What’s the burn-in run and do I really need to do it?
The burn-in run is running your new air fryer empty at 400°F for 10–15 minutes before first use. It burns off manufacturing residue, protective coatings, and packaging chemicals from the interior. You’ll likely smell a plastic-ish odor during this — that’s exactly what you’re eliminating before it ends up in your food. Yes, it’s worth doing.
Start Cooking — Next Steps
- Air Fryer Conversion Chart — Convert any oven recipe to air fryer in seconds
- Air Fryer Cooking Times Chart — 100+ foods with temps, times, and tips
- Air Fryer Chicken Wings — The perfect beginner protein recipe
- Air Fryer Troubleshooting — Fixes for smoking, sticking, and uneven cooking
- Air Fryer Dehydrator Guide — How to use the dehydrate function
- Keto Air Fryer Recipes — Low-carb meals your air fryer does best
- 50 Common Air Fryer Questions Answered