Air Fryer Cinnamon Rolls
Why Make Cinnamon Rolls in an Air Fryer?
Air fryer cinnamon rolls solve one of the most annoying problems with traditional oven-baked cinnamon rolls: the wait. A standard oven needs 10–15 minutes to preheat before the rolls even go in, then another 25–30 minutes of baking. The air fryer skips preheat entirely or requires just 2–3 minutes, and the rolls finish in 8–10 minutes. Total active time from opening the refrigerator to a finished roll is under 15 minutes. For a from-scratch yeast dough version, the bulk rise time is the same as any cinnamon roll recipe — but the actual cooking time drops by more than half compared to a 350°F oven.
The air fryer also solves the uneven baking problem that affects many home ovens. Conventional ovens have hot spots — areas where the heating element runs hotter than the stated temperature — that can brown one side of a cinnamon roll pan before the other side is done. The 360° circulating airflow of an air fryer creates more even heat exposure, which produces more consistent browning across the entire roll. The SERP data from top-ranking competitors including Air Fryer Fanatics and Tastes of Homemade consistently confirm 320–360°F for 6–9 minutes as the range that works across models — a much tighter consensus than you’d find for most air fryer baking recipes.
The Unique Baking Challenge: Dough That Needs to Rise
Unlike cookies or churros, cinnamon rolls are a leavened dough product — either yeast-leavened (traditional) or chemically leavened (no-yeast quick versions). The air fryer’s rapid heat can outrun the leavening if you are not careful. For store-bought rolls that have already proofed at the factory, this is not an issue. For homemade rolls, the standard rule applies: let the shaped rolls rise until they touch each other before air frying, which typically means 45–75 minutes for yeast-based dough. This full rise before cooking ensures the gluten structure is relaxed and the interior will be fluffy rather than dense and doughy.
What Ingredients and Equipment Do You Need?
For Homemade Cinnamon Roll Dough
- 2¼ tsp (1 packet, 7g) active dry yeast
- ¾ cup (180ml) warm whole milk (110°F / 43°C — warm to the touch but not hot)
- ¼ cup (50g) granulated sugar, divided
- 3 cups (375g) all-purpose flour, plus more for dusting
- ½ tsp fine salt
- ¼ cup (57g) unsalted butter, melted and slightly cooled
- 1 large egg, room temperature
Cinnamon Sugar Filling
- ¼ cup (57g) unsalted butter, softened (not melted)
- ⅓ cup (65g) packed light brown sugar
- 2 tsp ground cinnamon
- ¼ tsp fine salt
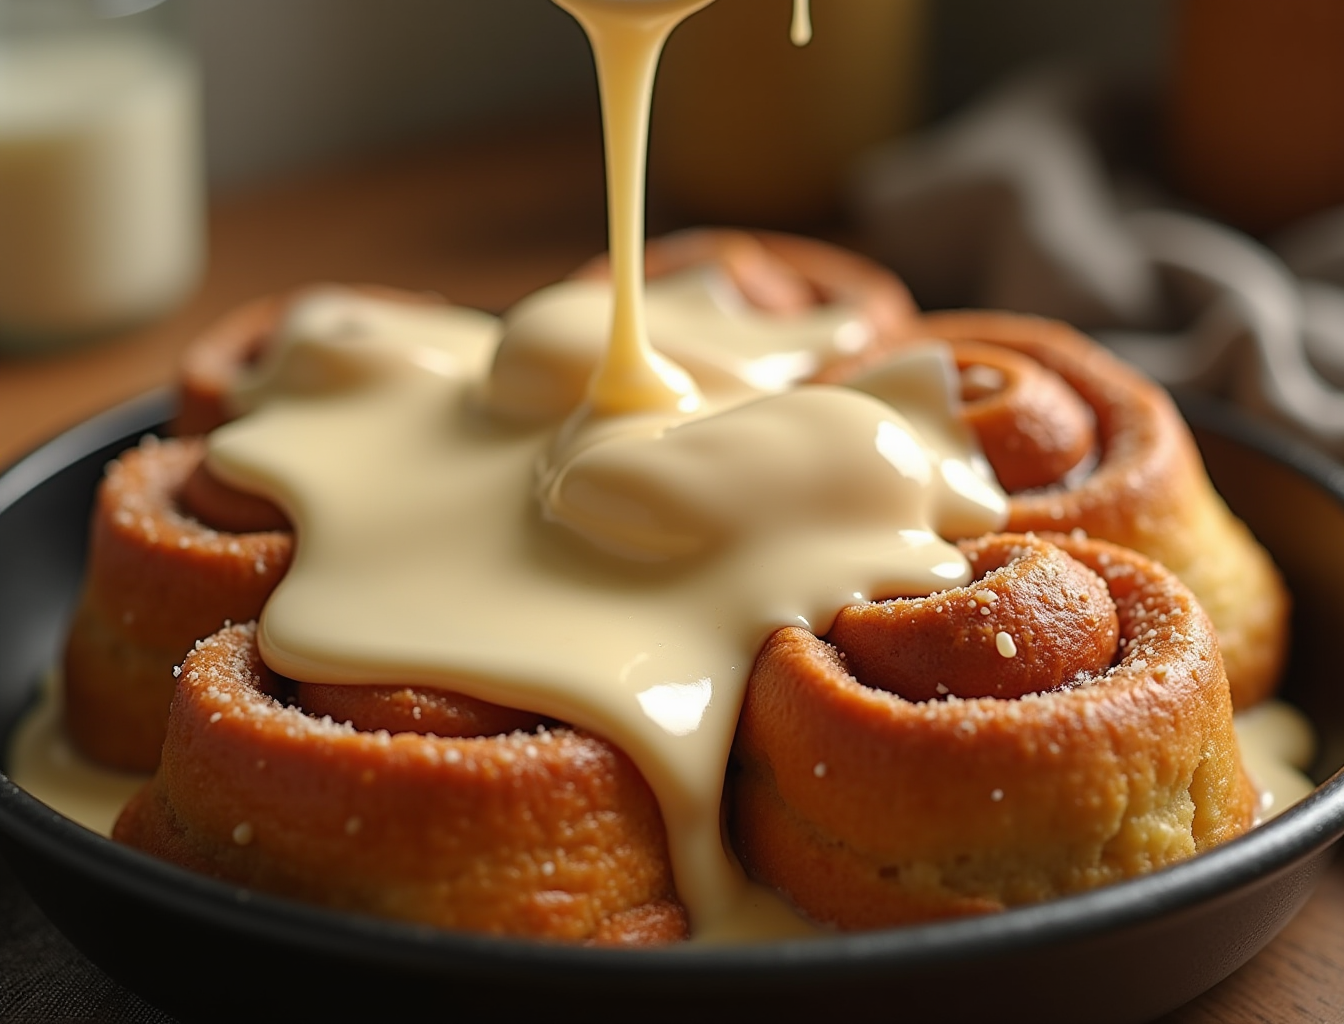
Cream Cheese Glaze
- 2 oz (57g) cream cheese, softened
- 1 cup (120g) powdered sugar, sifted
- 3–4 tbsp whole milk
- ½ tsp vanilla extract
Equipment
- Air fryer (6–8 quart recommended for 6 rolls in a single layer)
- 7-inch round cake pan or air fryer-safe baking dish (fits most 5.8+ quart baskets)
- Rolling pin
- Stand mixer with dough hook, or large bowl and strong arms
- Instant-read thermometer (for proofing the milk to 110°F)
- Bench scraper for cutting clean rolls
- Dental floss or very sharp knife for slicing the log into rolls
Why Use a Pan Inside the Air Fryer?
For cinnamon rolls, cooking in a pan placed inside the air fryer basket produces significantly better results than placing rolls directly on the basket floor. The pan prevents the bottom of the rolls from over-browning before the top is done (since the basket floor is closest to the heating element in many air fryer models), contains the filling that melts out during baking, and allows the rolls to rise against each other and stay moist. A 7-inch round springform pan works best — you can remove the bottom and just use the ring, which allows better airflow from below.
How Do You Make Homemade Air Fryer Cinnamon Rolls?
Step 1: Make the Dough
Warm the milk to 110°F (43°C) — this is warm enough to activate yeast but cool enough not to kill it. If you don’t have a thermometer, the milk should feel warm on your wrist but not hot. Combine warm milk with 1 tablespoon of the sugar and sprinkle the yeast on top. Let stand for 5–8 minutes until the mixture foams. If it doesn’t foam, the yeast is dead or the milk was too hot — start over with fresh yeast and check the milk temperature.
In a stand mixer bowl (or large mixing bowl), combine flour, remaining sugar, and salt. Add the yeast mixture, melted butter, and egg. Mix with the dough hook on medium speed for 5–7 minutes, or knead by hand for 8–10 minutes, until the dough is smooth, slightly tacky but not sticky, and springs back when poked. Place in a lightly oiled bowl, cover with plastic wrap, and let rise in a warm place for 1–1.5 hours until doubled in size.
Step 2: Make the Filling and Shape the Rolls
Combine softened butter, brown sugar, cinnamon, and salt in a small bowl to form a paste. Turn risen dough out onto a lightly floured surface and roll to a 12×16-inch rectangle, approximately ¼-inch thick. Spread the filling paste evenly over the entire surface, leaving a ½-inch border at one long edge. Starting from the filled long edge, roll the dough into a tight log. Press the bare border against the log to seal.
For clean cuts without compressing the rolls, use unflavored dental floss: slide a 12-inch piece under the log, cross the ends over the top, and pull to cut through. Each roll should be 1.5–2 inches wide. You’ll get 6–8 rolls from a 12-inch log. Place rolls in the oiled pan, cut side up, with slight gaps between them. Cover and let rise for 45–60 minutes until the rolls touch each other and the dough bounces back slowly when pressed.
Step 3: Air Fry
Preheat your air fryer to 320°F (160°C). Place the pan inside the basket. Air fry for 8–10 minutes. At 8 minutes, check: the tops should be golden brown and the rolls should have pulled slightly away from the pan edges. An instant-read thermometer inserted into the center of a roll should read 190–200°F (88–93°C) for fully baked yeast bread. Do not go by color alone — the exterior can look done while the center is still doughy.
Remove the pan and let rolls cool in the pan for 5 minutes. This resting time allows the interior crumb to set — cutting immediately produces a gummy, collapsed interior. Make the cream cheese glaze while the rolls rest. Drizzle generously over still-warm rolls and serve immediately.
What Are the Best Pro Tips for Perfect Air Fryer Cinnamon Rolls?
Tip 1: Use a Pan, Not the Bare Basket
Direct contact with the air fryer basket floor burns the bottom of cinnamon rolls before the top is cooked through. A 7-inch cake pan or air fryer-safe ramekin set creates a buffer and keeps the filling contained. If your basket is too small for a round pan, arrange the rolls in silicone muffin cups — individual rolls cook in silicone cups in about the same time and the cups peel away easily after cooling.
Tip 2: Don’t Skip the Full Rise for Yeast Dough
Under-proofed cinnamon rolls are the most common homemade failure. If you rush the second rise (after shaping), the gluten is still tight and the rolls will bake dense instead of fluffy. The rolls are ready to bake when they have visibly puffed and are touching each other in the pan. In a warm kitchen (72–75°F), this takes 45–60 minutes. In a cold kitchen, it can take 90 minutes. Speed it up by placing the covered pan in an oven with only the light on (no heat) — the 80–85°F ambient temperature from the bulb is ideal for proofing.
Tip 3: Cover with Foil If the Tops Brown Too Fast
Air fryers direct hot air downward from the top element, which means the tops of cinnamon rolls brown faster than the bottoms cook through. If your rolls are golden after 6 minutes but the center is still doughy, tent a small piece of foil loosely over the pan and continue cooking. The foil reflects some heat away from the tops while the interior catches up. Remove the foil for the last 2 minutes to re-crisp the surface if needed.
Tip 4: Temperature Matters More for Dough Than Other Baked Goods
The window for perfectly baked cinnamon rolls is narrower than for cookies or donuts. Below 190°F internal temperature, the center is gummy. Above 210°F, the crumb dries out. An instant-read thermometer inserted into the center of the pan is the only reliable way to know if the rolls are done. At 195°F internal temperature, yeast cinnamon rolls have a fluffy, tender, just-set crumb that pulls apart into soft layers. See the Air Fryer Cooking Times Chart for general baked good temperature guidelines.
Tip 5: Add Glaze After, Not Before
Never glaze cinnamon rolls before air frying — the sugar in the glaze will burn in the air fryer’s concentrated heat. Always glaze after cooking while the rolls are still warm. Warm rolls absorb the glaze slightly, which produces a richer, more integrated final result. If you’re making rolls ahead of time, store them unglazed and add fresh glaze after reheating.
What Are the Best Variations for Air Fryer Cinnamon Rolls?
| Variation | Filling Change | Glaze/Topping | Notes |
|---|---|---|---|
| Apple Cinnamon | Add ½ cup finely diced peeled apple + 1 tsp extra cinnamon to filling | Vanilla glaze with a drizzle of caramel sauce | Pat apple pieces dry first; excess moisture can make the dough soggy |
| Nutella Swirl | Replace cinnamon-sugar filling with 3 tbsp Nutella spread thinly across the dough | Powdered sugar dust or chocolate glaze | Nutella spreads more easily at room temp; don’t microwave it or it becomes too runny |
| Orange Cardamom | Add 1 tsp orange zest + ½ tsp cardamom to filling; replace salt in filling | Orange glaze: replace milk with fresh orange juice in the glaze | Scandinavian-inspired; cardamom is the defining note in classic kanelbullar |
| Gluten-Free | Same filling; use GF dough (see below) | Any glaze works | GF dough doesn’t develop gluten; handle minimally and chill before rolling |
| Vegan | Use vegan butter; replace milk with oat milk + 1 tsp apple cider vinegar | Vegan cream cheese glaze or simple powdered sugar glaze | Oat milk + ACV mimics buttermilk activation for yeast; coconut oil works as butter substitute |
The Pillsbury Shortcut
If you want air fryer cinnamon rolls in under 15 minutes with zero dough work, a can of Pillsbury Grands Cinnamon Rolls is the most direct route. Open the can, separate the rolls, and place them in a single layer in the air fryer basket — no pan needed for store-bought rolls since they are more structured than homemade. Air fry at 320–350°F for 6–9 minutes. The range varies by model: start at 7 minutes and add time if needed. Glaze with the included icing after cooking. This method works and the result is comparable to oven-baked Pillsbury rolls, but with 10–12 minutes shaved off the total time. The tradeoff versus homemade is obvious, but for a Tuesday morning breakfast with minimal effort, it’s the right call.
How Do You Store and Reheat Air Fryer Cinnamon Rolls?
Storage
Cinnamon rolls are best eaten the day they are made. For leftovers, store unglazed rolls in an airtight container at room temperature for up to 2 days. If already glazed, store in the refrigerator where they keep for up to 4 days — the cream cheese in the glaze requires refrigeration. For freezing: cool completely, do not glaze, wrap individually in plastic wrap, and freeze for up to 2 months. Label with the date and reheat from frozen as described below.
Reheating
Refrigerated rolls: place in the air fryer at 300°F (150°C) for 2–3 minutes until warmed through. From frozen: air fry at 300°F for 5–7 minutes. If already glazed, cover the roll loosely with foil before reheating to prevent the glaze from burning. Add a fresh drizzle of glaze after reheating for the best result — reheating tends to dry out the original glaze layer. A 15-second microwave hit works for speed but does not restore the slightly textured exterior the air fryer provides.
Frequently Asked Questions About Air Fryer Cinnamon Rolls
Can I use store-bought refrigerated dough besides Pillsbury?
Yes. Any refrigerated canned biscuit or cinnamon roll dough works. Rhodes frozen rolls (which require thawing and proofing) also work well — follow their thawing instructions, let rolls rise fully in the pan, then air fry at 320°F for 8–10 minutes. The key variable is whether the dough has already been proofed (canned rolls, yes) or needs proofing (frozen dough, no). Under-proofed frozen dough produces a dense, heavy roll.
How do I prevent soggy bottoms?
Soggy bottoms happen when the rolls sit in pooled filling that melts out during baking. Two fixes: first, spread softened (not melted) butter for the filling — softened butter stays in place better during the roll. Second, use a pan with holes in the bottom (like a springform pan with the bottom removed, set on the basket rack) so any dripped filling falls away from the rolls rather than pooling beneath them. A lightly oiled basket with no pan also works if you watch closely.
Can I freeze cinnamon rolls after baking?
Yes. Cool completely, wrap individually in plastic wrap, and freeze in a zip-lock bag for up to 2 months. Do not freeze glazed rolls — freeze unglazed and add fresh glaze after reheating. Frozen rolls reheat well in the air fryer at 300°F for 5–7 minutes from frozen, or in the microwave for 60–90 seconds (faster but softer result).
What is the correct internal temperature for fully baked cinnamon rolls?
A fully baked yeast cinnamon roll has an internal temperature of 190–200°F (88–93°C). Below 190°F, the crumb is still gummy and doughy. Above 210°F, it begins to dry out. Insert an instant-read thermometer into the center of the thickest roll in the pan. For store-bought Pillsbury rolls, the pastry is thinner and fully set at 185°F. Time ranges given in recipes are approximate — internal temperature is the definitive test.
Can I make these without yeast for a faster version?
Yes. A quick no-yeast version uses 2 cups self-rising flour (or all-purpose flour + 2 tsp baking powder + ½ tsp salt) with ¾ cup full-fat Greek yogurt stirred together until a shaggy dough forms. Knead briefly, roll out, add filling, and shape into rolls. Air fry at 350°F for 8–10 minutes. The texture is more biscuit-like than a yeast roll — less chewy, more crumbly — but the flavor with a strong cinnamon filling and cream cheese glaze is very good. Total time from start to finish: under 30 minutes.