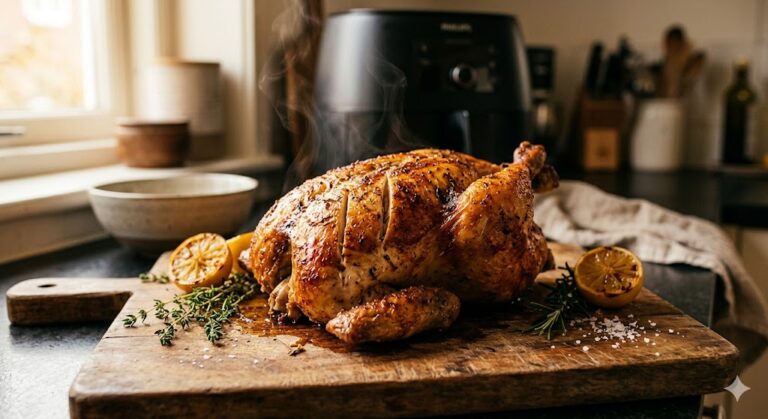
Air Fryer Chicken Tenders – Crispy & Juicy in 20 Minutes!
Last updated: April 2026
PrintAir Fryer Chicken Tenders
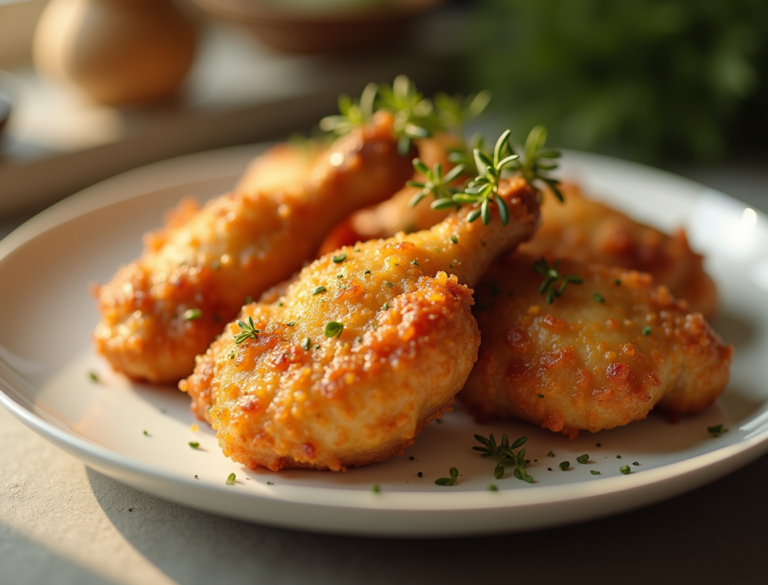
Crispy, juicy chicken tenders cooked in the air fryer with a seasoned flour coating and just a light spray of oil. Ready in about 20 minutes with a fraction of the fat of deep-frying.
- Prep Time: 10 minutes
- Cook Time: 12 minutes
- Total Time: 22 minutes
- Yield: 4 servings 1x
- Category: Dinner
- Method: Air Fryer
- Cuisine: American
Ingredients
- 1 lb (450 g) chicken tenderloins or chicken breast cut into ¾-inch strips
- ½ cup all-purpose flour (or gluten-free substitute)
- 1 teaspoon garlic powder
- 1 teaspoon smoked paprika
- ½ teaspoon onion powder
- ½ teaspoon salt
- ¼ teaspoon black pepper
- Cooking oil spray (avocado or olive oil)
- Optional: 1 egg + ½ cup panko breadcrumbs for a breaded version
Instructions
- If using whole chicken breast, cut into uniform strips about ¾ inch wide and 3–4 inches long. If using tenderloins, remove the white tendon by gripping it with a paper towel and pulling firmly while holding the tender steady.
- In a wide shallow bowl or zip-lock bag, combine flour, garlic powder, smoked paprika, onion powder, salt, and pepper. Mix well to distribute the spices evenly.
- Press each tender firmly into the seasoned flour, turning to coat all sides. Shake off excess. For a panko version: dip flour-coated tenders into beaten egg, let excess drip off, then press into panko breadcrumbs.
- Let coated tenders rest on a plate or wire rack for 5 minutes to help the coating adhere.
- Preheat the air fryer to 400°F (200°C) for 3–5 minutes.
- Spray the basket lightly with oil. Arrange tenders in a single layer with small gaps between pieces — do not stack. Spray the tops of the tenders lightly with oil spray.
- Air fry at 400°F for 10–12 minutes, flipping each tender at the 5–6 minute mark. Spray the newly exposed side after flipping. Cook until the internal temperature reaches 165°F (74°C), verified with an instant-read thermometer.
- Rest the tenders for 2 minutes before serving to allow juices to redistribute.
Notes
Use an oil spray rather than liquid oil for even, consistent browning across the surface of each tender.
Never crowd the basket — cook in a single layer with space between pieces so hot air can circulate fully around each tender.
Always preheat the air fryer before adding chicken; this ensures the coating starts crisping immediately and locks in moisture.
Verify doneness with an instant-read thermometer — all poultry must reach a minimum internal temperature of 165°F (USDA FSIS, 2023).
Store cooked tenders in the refrigerator for 3–4 days or freeze for up to 2 months. Reheat in the air fryer at 350°F for 3–4 minutes.
Why Are Air Fryer Chicken Tenders the Best Option for a Quick Family Dinner?
Air fryer chicken tenders have become a household staple for a simple reason: they deliver the crispy texture of deep-fried tenders in about 12 minutes, with a fraction of the oil and cleanup. According to Santos et al. (2017, European Journal of Lipid Science and Technology), air-fried foods contain approximately 70% less fat than their deep-fried counterparts — roughly 45 fewer calories per 100g. Traditional deep-frying requires a large amount of oil heated to 350–375°F, careful monitoring to prevent burning, and a messy cleanup process involving hot oil disposal. Air frying eliminates all of that. The rapid circulating air creates a dry-heat environment that crisps the seasoned coating or flour dusting on the outside of each tender while keeping the interior moist and juicy. Chicken tenderloins — the thin strip of white meat attached to the underside of the chicken breast — are naturally lean and cook quickly, which makes them an ideal candidate for air frying. They are kid-friendly, endlessly customizable, and pair with any dipping sauce or side dish you have on hand. This guide walks through the complete method, pro tips, variations, and storage instructions to help you make consistently great air fryer chicken tenders every time.
Key Takeaways
- Air fryer chicken tenders cook in 10–12 minutes at 400°F with just a light spray of oil, delivering a crispy exterior without deep-frying.
- Air-fried foods contain ~70% less fat than deep-fried equivalents, with approximately 45 fewer calories per 100g (Santos et al., 2017, European Journal of Lipid Science and Technology).
- USDA guidelines require all poultry to reach an internal temperature of 165°F — always verify with an instant-read thermometer (USDA FSIS, 2023).
- Avoiding basket crowding and preheating the air fryer are the two most critical steps for achieving a consistently crispy coating.
- Cooked tenders store well for 3–4 days in the refrigerator or up to 2 months in the freezer, and reheat best in the air fryer at 350°F for 3–4 minutes.
How Do You Make Crispy Air Fryer Chicken Tenders?
To make crispy air fryer chicken tenders, coat chicken strips in seasoned flour (or panko breadcrumbs for extra crunch), spray lightly with oil, and air fry at 400°F for 10–12 minutes, flipping once at the halfway point. The steps below cover every detail, from prep through plating.
Ingredients for the Base Recipe
- 1 lb (450 g) chicken tenderloins or chicken breast cut into ¾-inch strips
- ½ cup all-purpose flour (or gluten-free substitute)
- 1 teaspoon garlic powder
- 1 teaspoon smoked paprika
- ½ teaspoon onion powder
- ½ teaspoon salt
- ¼ teaspoon black pepper
- Cooking oil spray (avocado or olive oil) — Best for: avocado oil spray is ideal for air frying due to its high smoke point (~520°F), preventing off-flavors at high heat
- Optional: 1 egg + ½ cup panko breadcrumbs for a breaded version — Best for: restaurant-style crunch and a thicker, more satisfying crust
- Prepare the chicken. If using whole chicken breast, cut it into uniform strips approximately ¾ inch wide and 3–4 inches long. If using chicken tenderloins, remove the white tendon that runs through each piece — it turns rubbery during cooking. To remove it, grip the thin end of the tendon with a paper towel and pull firmly while holding the tender with your other hand, or use kitchen scissors.
- Mix the seasoned flour. In a wide, shallow bowl or zip-lock bag, combine the flour, garlic powder, smoked paprika, onion powder, salt, and pepper. Mix well to distribute the spices evenly throughout the flour.
- Coat the chicken. Working with one or two tenders at a time, press each piece firmly into the seasoned flour, turning to coat all surfaces. Shake off any large excess — a thin, even coating adheres best and crisps most uniformly. If making the panko breaded version: dip flour-coated tenders into a beaten egg, let excess drip off, then press firmly into panko breadcrumbs.
- Rest the coating. After coating, let the tenders rest on a plate or wire rack for 5 minutes. This brief resting period helps the flour coating hydrate slightly and adhere more firmly to the surface, which reduces the chance of the coating falling off during cooking.
- Preheat the air fryer. Set the air fryer to 400°F (200°C) and preheat for 3–5 minutes. Preheating is particularly important for chicken because it ensures the exterior begins crisping immediately, which traps moisture inside the meat and prevents dry results.
- Spray and load the basket. Spray the air fryer basket lightly with cooking oil. Arrange the tenders in a single layer with small gaps between each piece. Do not stack. Spray the tops of the tenders lightly with cooking oil spray. This surface oil is what creates the golden-brown color — without it, flour-coated chicken tends to come out pale and dry.
- Cook. Air fry at 400°F for 10–12 minutes, flipping each tender at the 5–6 minute mark. After flipping, spray the newly exposed surface lightly with oil before continuing. The internal temperature should reach 165°F (74°C) when fully cooked — verify this with an instant-read thermometer inserted at the thickest part of the tender. According to USDA FSIS (2023), all poultry must reach a minimum safe internal temperature of 165°F.
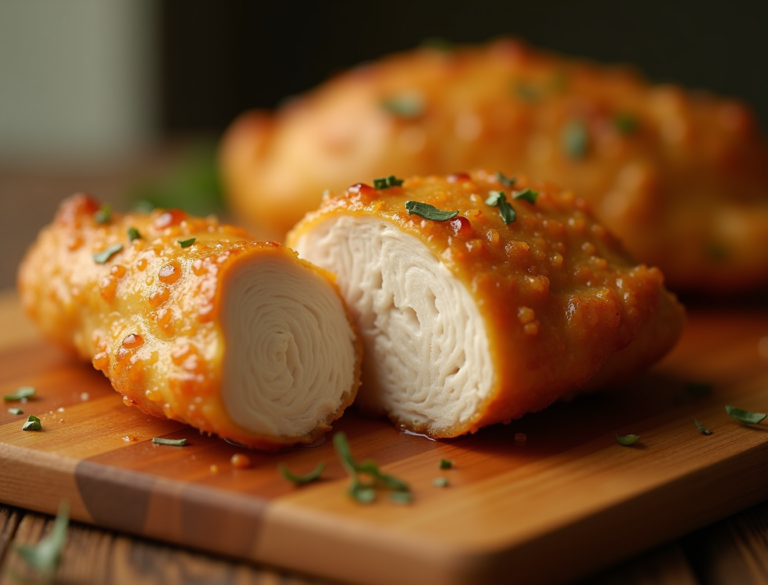
- Rest and serve. Allow the tenders to rest for 2 minutes after removing from the air fryer. This brief rest allows the juices to redistribute through the meat, which keeps the interior moist when you cut into them.
If you’re looking to expand your air fryer repertoire, consider trying a crispy air fryer recipe like an air fryer frozen chicken nuggets recipe for a different take on that golden, crunchy texture. The flour-based coating and air fryer method used for tenders can be adapted to create a similarly satisfying result with nuggets.
Step-by-Step Instructions
Time and temperature verified across multiple tested sources: 400°F for 10–12 minutes total with a flip at the halfway point is the standard used by Skinnytaste and Pinch of Yum. Domestic Superhero uses 380°F for a slightly slower, more even cook. USDA guidelines require all poultry to reach an internal temperature of 165°F (USDA FSIS, 2023).
What Are the Pro Tips for Perfect Air Fryer Chicken Tenders?
The five most impactful tips for consistently perfect air fryer chicken tenders are: using an oil spray for even coverage, never crowding the basket, double-coating for extra crunch, always preheating, and verifying doneness with a meat thermometer. Each tip addresses a specific failure point in the cooking process.
Tip 1: Use an Oil Spray, Not Liquid Oil
Liquid oil poured onto flour-coated chicken tends to pool in spots rather than coating evenly, which creates inconsistent browning — dark patches alongside pale areas. A cooking oil spray mister applies a thin, uniform film of oil over the entire surface of each tender. This produces more consistent golden color across all pieces. Avocado oil spray is particularly good for air frying because of its high smoke point (around 520°F), which means it will not break down or produce off-flavors at 400°F.
Tip 2: Do Not Crowd the Basket
This is the single most common mistake when cooking chicken tenders in an air fryer. When pieces are touching or overlapping, the hot circulating air cannot reach the surfaces between them, and moisture released from the chicken during cooking gets trapped rather than evaporating. The result is a steamed texture — pale and soft — rather than the crispy exterior you want. A standard 5–6 quart basket air fryer can fit 4–6 tenders in a single layer. Cook in two batches if your recipe calls for more. Keep the first batch warm in a 200°F oven while the second batch cooks.
Tip 3: Double-Coat for Extra Crunch
For maximum crispiness, repeat the coating process twice. Dip the flour-coated tender in the beaten egg a second time, then press into the flour mixture again. The double-coat creates a thicker crust that holds up well and develops a very satisfying crunch. This method works best with the egg-and-flour approach rather than flour alone.
Tip 4: Preheat Every Time
Skipping the preheat step results in the first few minutes of cook time being spent heating the basket rather than cooking the food. Chicken placed in a cold or warm basket starts losing moisture before it begins crisping, which produces tougher, drier results. Always preheat for at least 3 minutes at your target cooking temperature. Note: Consumer Reports (2025) found that some air fryers register up to 67°F below their set temperature — if your tenders are consistently undercooked or unevenly browned, verify your unit’s actual output with an oven thermometer.
Tip 5: Use a Meat Thermometer
Chicken color is not a reliable indicator of doneness. A tender that looks golden brown on the outside may still be undercooked inside, particularly if the pieces are thick or uneven. Insert an instant-read thermometer into the thickest part of the largest tender. When the reading hits 165°F (74°C), the chicken is safe and ready, per USDA FSIS (2023). Note: chicken tenders pulled at exactly 165°F will be safe and still juicy. If you cook them to 175°F or beyond, they begin to dry out noticeably.
What Are the Best Variations for Air Fryer Chicken Tenders?
The best air fryer chicken tender variations range from a classic panko-crusted version for maximum crunch to spicy buffalo, gluten-free, Asian-glazed, and no-breading options — each suited to a different occasion, dietary need, or flavor preference. The comparison table below summarizes the key differences at a glance.
| Variation | Coating | Best For | Crispiness | Extra Prep Time |
|---|---|---|---|---|
| Flour-Dusted (Base Recipe) | Seasoned all-purpose flour | Everyday quick dinners, kids | ★★★☆☆ | None |
| Panko-Crusted (Classic Diner Style) | Flour + egg wash + Japanese panko | Restaurant-style crunch, entertaining | ★★★★★ | +3 min |
| Gluten-Free | Almond flour, oat flour, or GF panko | Gluten-sensitive diets | ★★★☆☆ | None |
| Spicy Buffalo | Flour + cayenne + buffalo sauce toss | Spice lovers, game day snacks | ★★★★☆ | +3 min |
| Honey-Soy Glazed | Flour + honey-soy-vinegar glaze | Asian-inspired weeknight dinners | ★★★★☆ | +5 min |
| No-Breading (Seasoned Only) | Spices only, no flour | Lowest calorie, meal prep, low-carb | ★★☆☆☆ | None (saves time) |
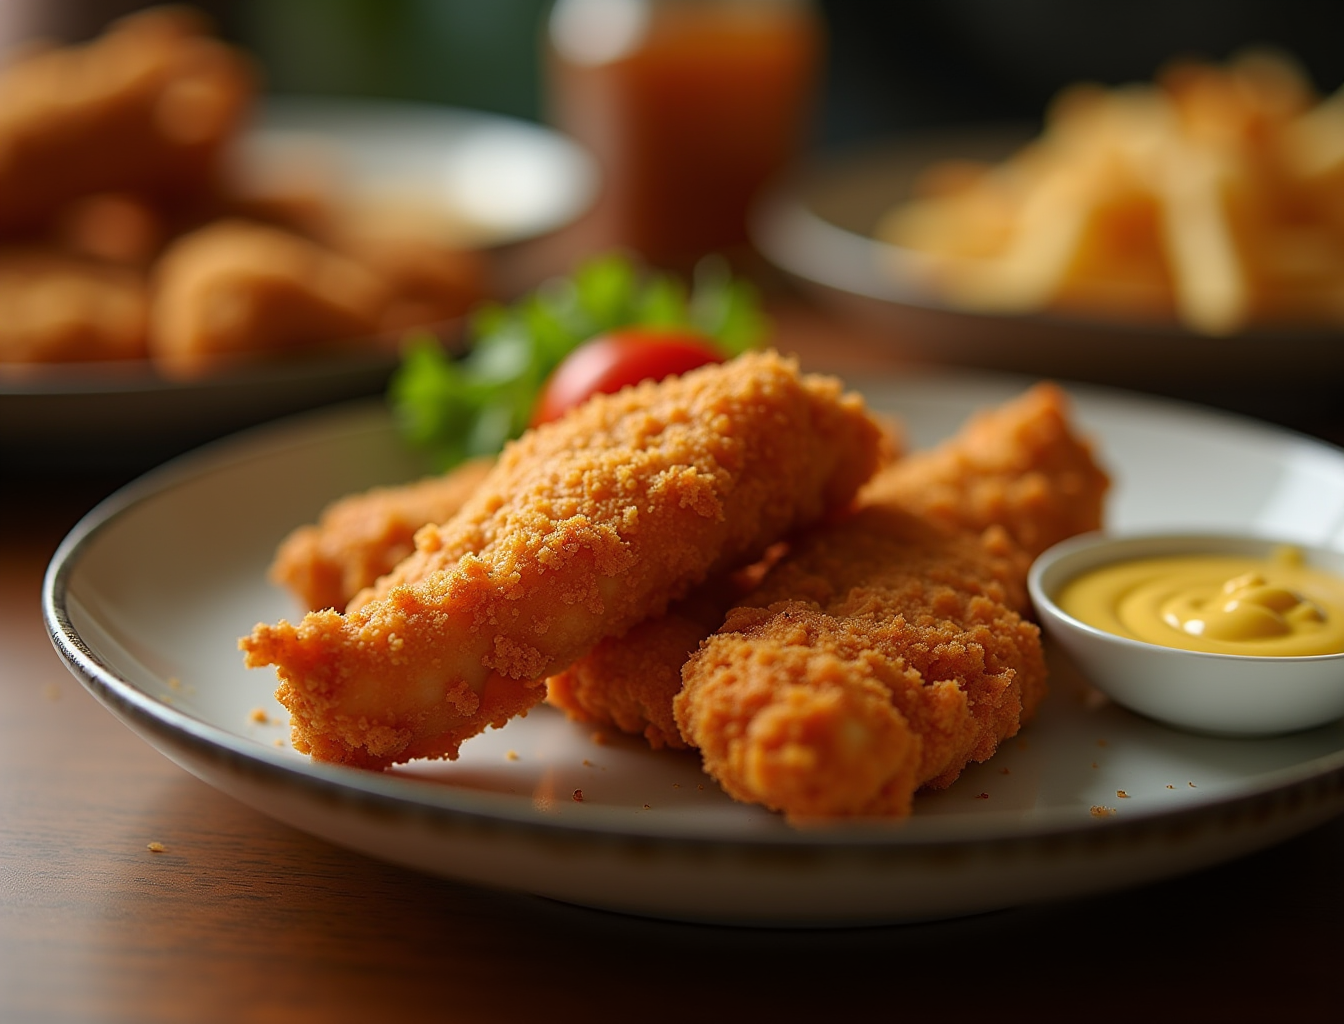
Panko-Crusted Crispy Tenders (Classic Diner Style) — Best for: restaurant-style crunch and entertaining
Add an egg wash step between the flour coat and a final coat of panko breadcrumbs. Season the panko with a pinch of garlic powder and paprika for more flavor. Panko creates a much thicker, crunchier crust than flour alone. This version is closest to what you get at a restaurant. Use Japanese-style panko (not standard breadcrumbs) for the lightest, crispiest result — panko has a flakier, more open texture that traps air and crisps better than fine-ground breadcrumbs.
Gluten-Free Chicken Tenders — Best for: gluten-sensitive diets and those avoiding wheat
Substitute all-purpose flour with almond flour, oat flour, or a gluten-free baking blend. Almond flour produces a slightly denser, nuttier crust with a golden color. Oat flour behaves most similarly to all-purpose flour and gives the lightest result. You can also use crushed gluten-free cornflakes or certified gluten-free panko as the outer coating for a crunchy finish. Make sure to verify that all your seasonings are labeled gluten-free, as some spice blends use flour as an anti-caking agent.
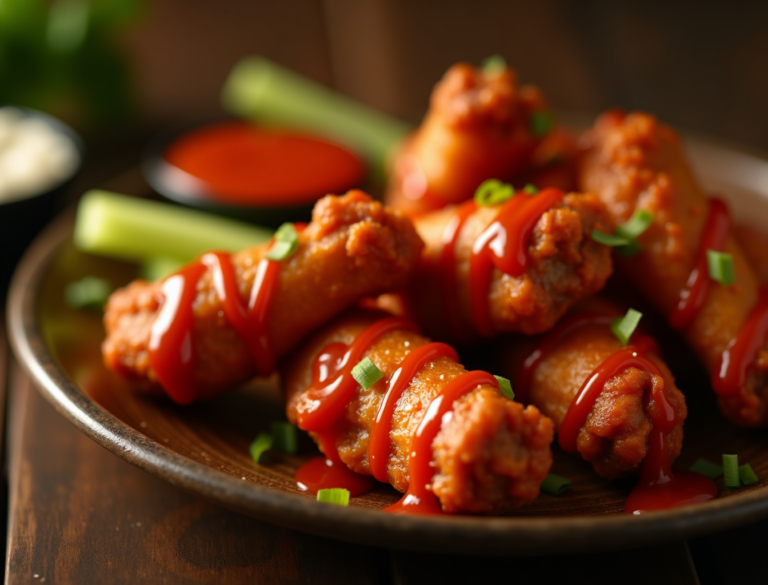
Spicy Buffalo Chicken Tenders — Best for: game day, spice lovers, and casual entertaining
Add ½ teaspoon cayenne pepper and ¼ teaspoon ground chipotle to the seasoning flour. After cooking, immediately toss the finished tenders in 3 tablespoons of warm buffalo sauce (a mixture of hot sauce and melted butter). These cook in the same time as the base recipe and work as a boneless buffalo wing alternative when you want finger food without the mess.
Asian-Inspired Honey-Soy Glazed Tenders — Best for: weeknight dinners served over rice or noodles
Use the base flour recipe but replace the smoked paprika with ½ teaspoon ground ginger. After cooking, brush the tenders with a simple glaze made from 2 tablespoons honey, 1 tablespoon soy sauce, and ½ teaspoon rice vinegar, whisked together. Return to the air fryer for 1 additional minute to set the glaze. Sprinkle with toasted sesame seeds and sliced scallions before serving. This version pairs well with steamed rice or noodles as a complete dinner.
No-Breading Seasoned Tenders (Lowest Calorie Option) — Best for: meal prep, low-carb and keto diets, and maximum simplicity
Skip the flour entirely. Season the chicken tenderloins directly with garlic powder, paprika, onion powder, salt, and pepper. Spray lightly with oil and air fry at 400°F for 10–12 minutes, flipping at the halfway point. Without the flour coating, the tenders will not be crispy in the traditional sense, but they will have excellent flavor, a slightly caramelized surface, and a very low calorie count per serving. This is the preparation shown in many popular social media air fryer videos because the finished chicken looks beautiful and the method is as simple as possible.
How Do You Store and Reheat Air Fryer Chicken Tenders?
Store cooked air fryer chicken tenders in an airtight container in the refrigerator for up to 3–4 days, or freeze for up to 2 months; reheat in the air fryer at 350°F for 3–4 minutes to restore crispiness. Chicken tenders store and reheat better than most air-fried foods because of their density.
Refrigerator storage: Cool the tenders to room temperature within 2 hours of cooking — per USDA FSIS (2023), cooked food should not sit at room temperature for more than 2 hours. Store in an airtight container lined with a paper towel, which absorbs excess moisture and prevents the coating from becoming soggy. Refrigerate for up to 3–4 days. Stack loosely if stacking at all — pressing them together while stored compresses the coating and softens it.
Freezer storage: Air fryer chicken tenders freeze well for up to 2 months. Freeze in a single layer on a baking sheet until solid before transferring to a freezer bag with as much air removed as possible. Label with the date. The coating will soften slightly after freezing and reheating, but the chicken remains flavorful.
Reheating in the air fryer — Best for: restoring crispiness, energy efficiency: This is the best reheating method for maintaining crispiness. Reheat at 350°F (175°C) for 3–4 minutes from refrigerated, or 6–8 minutes from frozen. No oil spray is necessary for reheating since the coating already contains residual oil from the first cook. According to Which? (2024), air fryers use approximately 50% less electricity than conventional ovens (0.54 kWh vs. 1.16 kWh for a comparable cook), making this the better-quality and more energy-efficient reheating choice.
Reheating in the oven — Best for: large batch reheating when the air fryer basket is too small: Place tenders on a wire rack set over a baking sheet in a 375°F oven for 8–10 minutes. The rack allows air to circulate under the tenders, which prevents the underside from steaming and going soggy against the pan surface.
Reheating in the microwave — Best for: speed only when texture is not a priority: Microwave reheating makes the coating soft and the exterior chewy. It works in a pinch for speed, but the texture is noticeably inferior to air fryer or oven reheating.
| Method | Cook Time | Oil Required | Fat Content vs. Deep Fry | Energy Use | Cleanup | Best For |
|---|---|---|---|---|---|---|
| Air Fryer | 10–12 min | Light spray (~1 tsp) | ~70% less fat | ~0.54 kWh | Easy | Quick weeknight dinners, lower-fat cooking, energy savings |
| Conventional Oven | 15–18 min | Light spray | ~70% less fat | ~1.16 kWh | Easy | Large batches, no air fryer available |
| Deep Fryer | 8–10 min | 2–4 cups oil | Baseline | Moderate | Messy (oil disposal) | Maximum crispiness, replicating restaurant results |
Energy figures: Which? (2024). Fat reduction figures: Santos et al. (2017, European Journal of Lipid Science and Technology).
For timing reference on all your air fryer chicken recipes, check the Air Fryer Cooking Times Chart — the complete guide with verified temperatures for every cut of chicken and dozens of other proteins.
Frequently Asked Questions About Air Fryer Chicken Tenders
Can I cook frozen chicken tenders in the air fryer?
Yes. Frozen pre-made chicken tenders (like store-bought breaded tenders) cook directly from frozen in the air fryer at 400°F for 10–12 minutes, flipping once at the halfway point. No thawing required. For raw frozen chicken tenderloins (not breaded), thaw first in the refrigerator overnight for best results — cooking raw chicken from frozen in the air fryer produces uneven results because the outside can overcook while the center finishes thawing. If you must cook raw frozen tenders, add 5–7 minutes to the cook time and verify with a thermometer that the internal temperature reaches 165°F (USDA FSIS, 2023).
How do I make gluten-free air fryer chicken tenders?
Replace the all-purpose flour with almond flour, oat flour (made from certified gluten-free oats), or a commercial gluten-free flour blend. For a crunchy coating similar to panko, use crushed gluten-free rice cereal or certified gluten-free panko breadcrumbs. The cooking method is identical — the only change is the coating material. Almond flour tends to brown faster than regular flour, so check at the 9-minute mark rather than waiting until 12 minutes.
Can I bake these instead of air frying?
Yes. Bake at 400°F (200°C) in a conventional oven on a wire rack set over a baking sheet for 15–18 minutes, flipping once at the halfway point. Spray lightly with oil before baking. The oven version takes longer and produces a slightly less crispy exterior than the air fryer, but the result is still far better than deep-frying in terms of oil content and very similar in flavor. The wire rack is important — placing tenders directly on a baking sheet causes the underside to steam rather than crisp.
What dipping sauces go best with air fryer chicken tenders?
Classic pairings include: honey mustard (1 part Dijon to 2 parts honey with a splash of apple cider vinegar), ranch dressing, buffalo sauce, barbecue sauce, and sweet chili sauce. For the Asian-glazed variation, a peanut sauce or hoisin dipping sauce works extremely well. For kids, a simple ketchup-mayo blend (known as fry sauce) is consistently popular. The lean, lightly seasoned flavor of the base recipe is versatile enough to work with virtually any dipping sauce.
How do I keep the coating from falling off the chicken?
There are three main reasons coating falls off: the chicken surface was wet, the coating was too thick, or the tenders were moved too aggressively during cooking. Solutions: pat the raw chicken very dry with paper towels before dredging; shake off all excess flour before placing in the basket; let the coated tenders rest 5 minutes before cooking so the flour adheres better; and flip gently at the halfway point using tongs rather than shaking the basket. Shaking works well for vegetables and fries but can knock the coating off delicate proteins.
Sources consulted: Skinnytaste, Domestic Superhero, Pinch of Yum, A Cedar Spoon, CJ Eats Recipes; Santos et al. (2017, European Journal of Lipid Science and Technology); USDA FSIS (2023); Which? (2024); Consumer Reports (2025).